Start with the original recording
A downloaded repost can already contain platform compression, captions, and watermarks. Open your own original video when it is available. For a vertical cover, footage recorded vertically gives you more room to keep the subject inside the crop.
Capture several nearby moments
- Open the video in the Reel cover extractor.
- Pause near the action or facial expression you want. Use the small time-step controls to compare neighboring moments.
- Capture three to five options. Compare the face, hands, and any product details rather than selecting solely by the sharpness estimate.
- Export PNG for further editing, or JPG for a smaller file.
Design for more than one crop
The exported still keeps the video’s full dimensions. Feed, profile, and fullscreen views can show different portions of it. Place the main subject near the center, leave space around text, and use the app’s current cover preview as the final check. A screenshot of that preview is more useful than assuming one permanent profile crop.
Make the cover readable
If text is needed, use a short phrase that remains readable at small size. A sharp frame with a busy background may still need a simple text panel or tighter crop. Preview it next to other posts to judge contrast and recognizability.
Know what extraction can change
The tool can save a different moment, but it cannot reverse blur already recorded in the source. It does not add text, choose a platform crop, or predict engagement. Use your own footage or footage you have permission to reuse.
Test a crop before committing to the cover
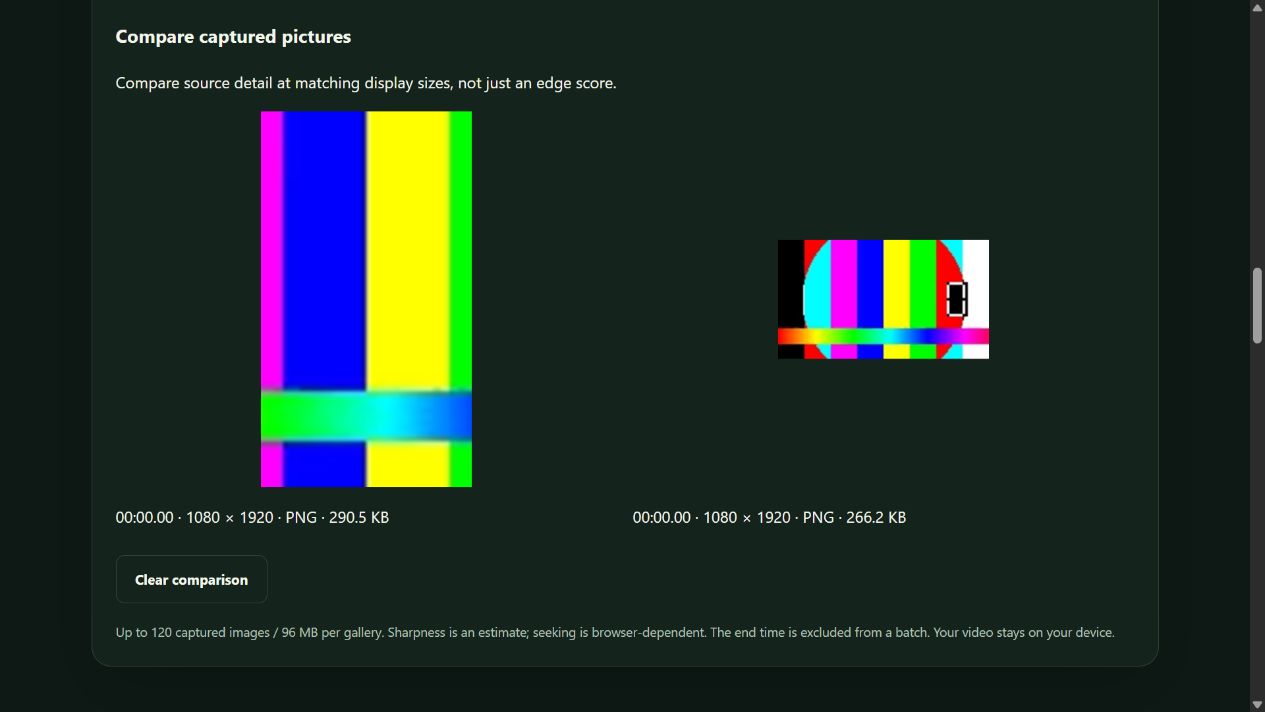
Choose a portrait source moment with the main subject away from the extreme edges. Capture three candidates and preview them in a 9:16 editor. Then check a square crop and a wider crop as possible display variations. Different surfaces can show different portions of the same cover, so keep essential detail near a safe central area.
The extractor preserves the source’s native dimensions. It does not automatically make a landscape source into a portrait composition, add text, or upload a cover to a social platform. A 1920 × 1080 landscape frame can lose much of its width in a portrait crop. Choose a closer subject or redesign the cover rather than stretching the image.
Review the current publishing interface before finalizing the export. Cover selection, editable timing, and account options can differ between apps or change later. Use your own footage and check that the chosen picture reflects the actual clip. Keep the full master and crop settings so a future layout change does not force you to recapture everything from the video.
Open a compatible local file and capture a few moments for comparison.
Open frame extractor