How to extract video frames every 5 seconds without uploading
To capture a picture every five seconds, choose a local video, set the batch interval to 5, and export the selected range. This produces a time sample, not every decoded source frame. The important decisions are how many pictures you need, where the range begins, and whether your device can retain the images.
Calculate the count before starting
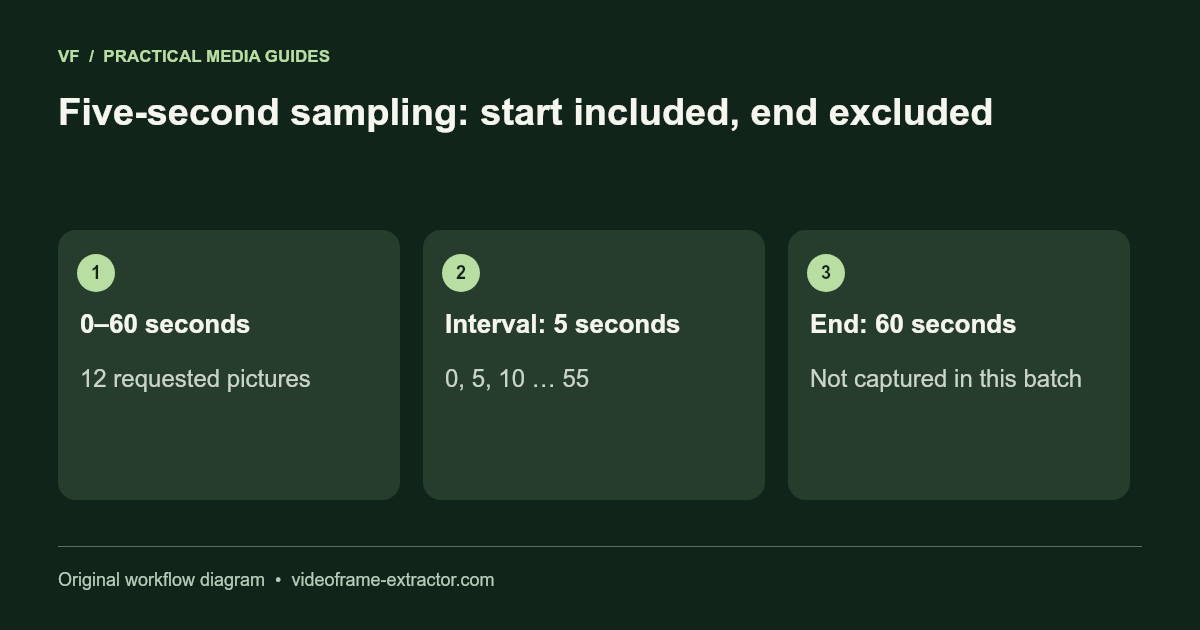
For this extractor, the start is included and the end is excluded. The requested count is the selected duration divided by the interval, rounded up. A range from 0 to 60 seconds with an interval of 5 requests 12 pictures: 0, 5, 10, through 55 seconds. It does not request a thirteenth picture at 60. A non-zero start keeps the same spacing; 10 to 40 seconds requests six positions.
A ten-minute range at five-second intervals requests 120 images. That fills an empty gallery in this version. Any previously captured pictures reduce the available spaces. Download and clear the gallery before a large batch. A sequence can reach the separate 96 MB retained-image limit before it reaches 120 pictures, particularly with detailed PNG frames.
Set up a short run first
- Open the interval extractor and choose a compatible local file.
- Confirm the preview plays and the displayed source dimensions are expected.
- Set start to 0, end to 30, and interval to 5.
- Choose PNG for an editing master or JPG for a smaller photographic sequence.
- Run the batch, inspect the six pictures, then download the ZIP.
The five-second value goes in the interval field; it is not a request for five frames per second. Five frames per second would use a 0.2-second interval and creates 25 times as many images over the same duration. Confirm the unit before starting.
Split longer footage into useful ranges
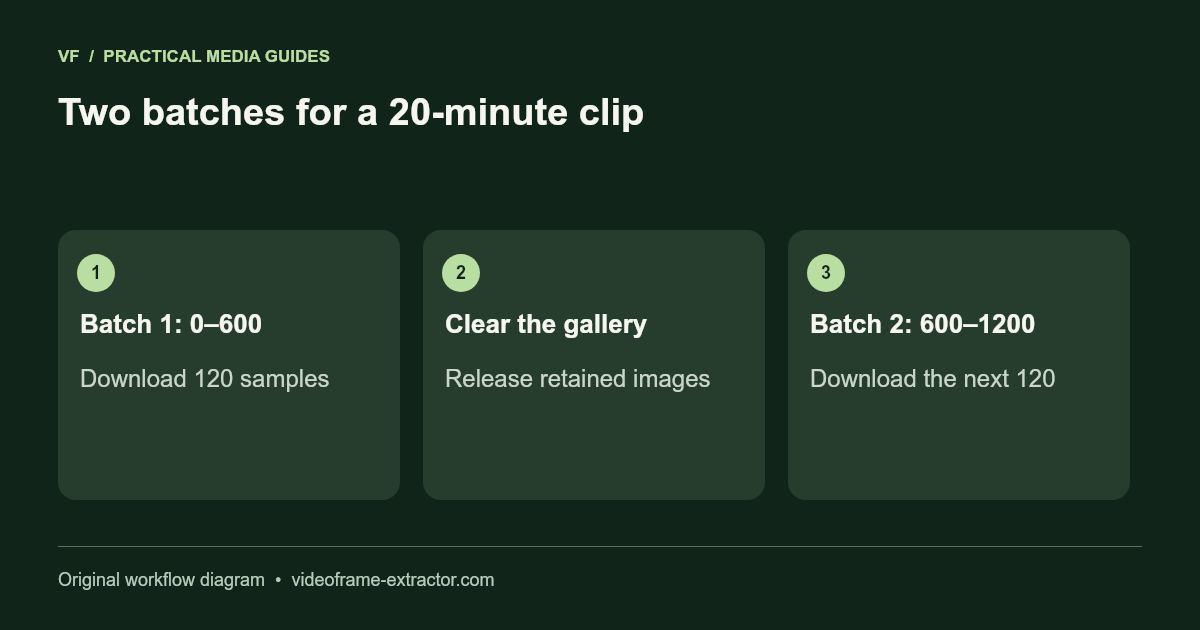
For a 20-minute recording, use 0–600 seconds and 600–1200 seconds as two five-second batches. Save the first ZIP and clear the gallery before the second run. The exclusive end avoids duplicating the boundary position. Keep each archive with the original recording name and range so the order remains understandable later.
If your goal is finding slide changes rather than recording elapsed time, five seconds may be too frequent during one slide and too sparse during a quick transition. Scrub around important changes and capture those moments manually. Interval sampling does not detect scenes or remove near-duplicates.
Check timestamps and missing moments
The browser seeks to requested times and captures a decoded picture. Variable frame rate, codec behavior, and browser seeking can affect the exact frame obtained. Treat timestamps as navigation aids, not verified timecodes. If consecutive samples look identical, first check whether the scene was actually static; identical content is not necessarily a failed capture.
Download a short test and open the pictures outside the browser. Confirm that they are image files, that they have the expected dimensions, and that their order matches your intended sequence. Keep the source if you will need to return to unsampled moments.
Recover from a stopped batch
Cancel keeps the pictures captured so far. Inspect and download that partial result before clearing it. If a safety limit stops the run, increase the interval, shorten the range, or use JPG. Changing the export format affects image encoding and file size; it does not make a source video codec playable. For an unsupported MOV or MKV, create a compatible H.264 MP4 in your editor first.
Try this workflow
Start with a short, non-sensitive sample. Inspect the downloaded result before using a longer recording or larger image.
Open the related tool