How to extract audio from a video before transcribing it
Select the video, choose the spoken range, and export WAV for an editing workflow or MP3 for a smaller listening copy. Extracting audio makes review convenient, but it does not clean every noise problem or create a transcript. You can also generate English captions directly from the video with the separate subtitle tool.
Decide whether an audio export is necessary
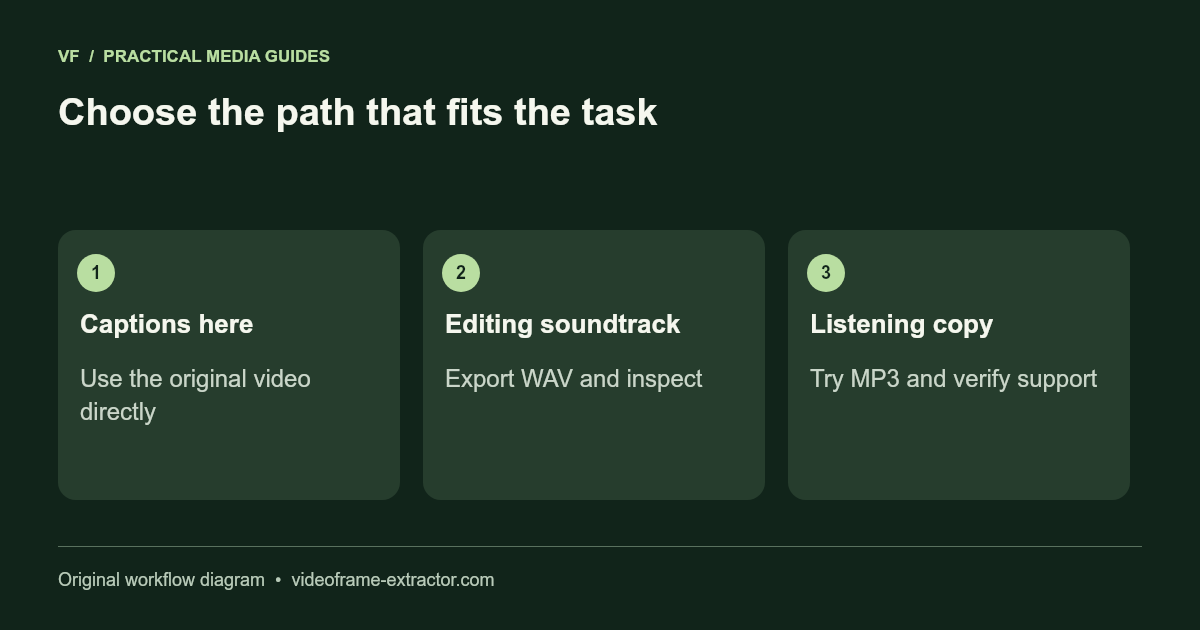
If your goal is captions in this website, open the video directly in Add subtitles to video. That avoids a separate conversion step. An audio export is useful when you want to listen in another application, hand a permitted clip to a transcriber, or keep a working soundtrack for editing.
Confirm that the recording contains a usable audio track. A silent screen recording cannot produce speech that was never recorded. If the preview plays picture but not sound, check the player volume and the original in a local application before assuming extraction will recover an unavailable track.
Select a short range with context
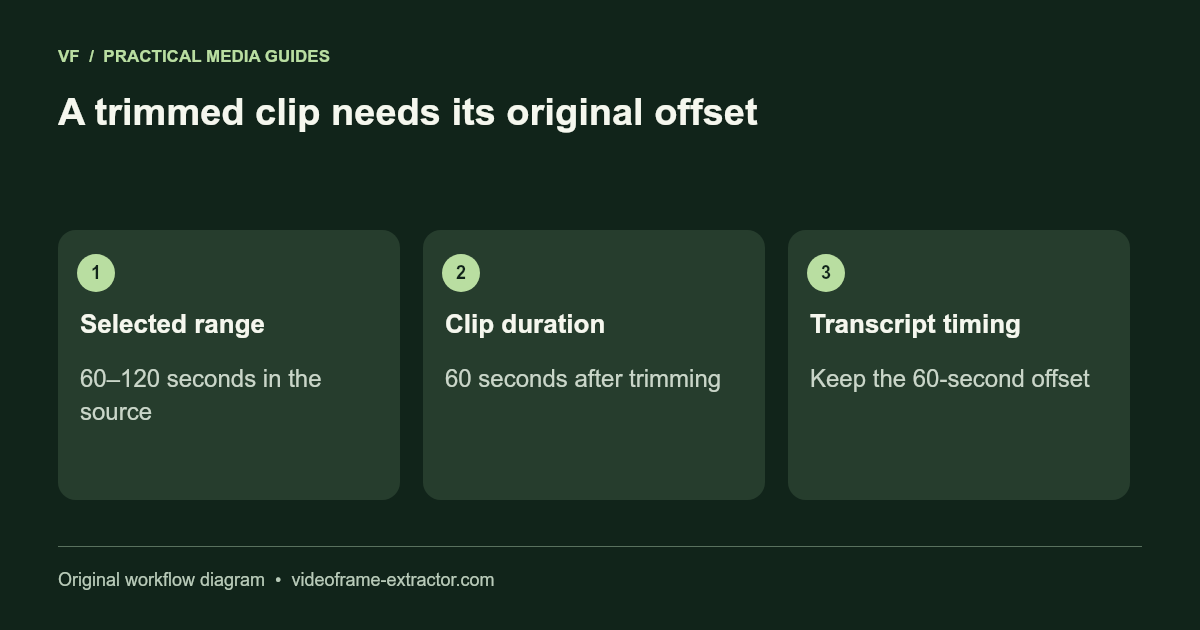
Use the start and end fields to keep only the relevant discussion, while leaving enough context around the first and last words. A range from 60 to 120 seconds is a one-minute working clip. Write down that original offset if a later transcript needs timestamps against the full recording.
The audio tool accepts source files up to 100 MB and a range up to 600 seconds. These limits are separate from the larger frame-extractor allowance. A file that opens in one tool may exceed another tool’s processing limit. Try a short export first and listen before converting a longer range.
Choose WAV, MP3, M4A or OGG deliberately
WAV exports uncompressed PCM audio for editing and can be much larger than a lossy format. MP3 is convenient for everyday playback. M4A uses AAC, and OGG uses Vorbis. The receiving application must support whichever format you choose, so check its import requirements first.
Increasing bitrate does not recreate missing speech detail. If the original is noisy or heavily compressed, a large WAV still contains those defects. Keep the original and avoid repeatedly converting lossy copies. The file’s extension tells you the container choice, not whether the words have been transcribed correctly.
Review the soundtrack before recognition
Listen to a quiet passage, a busy passage, and both clip boundaries. Check for missing sound, clipping, unexpected channels, and cut-off words. Record speaker names and technical vocabulary separately when possible. Those notes help review a transcript without treating every model prediction as reliable.
The vocal remover here uses stereo centre cancellation. It is not a speech-denoising or transcription preparation model. It may remove centred instruments or speech together. Do not apply it blindly to a lecture and expect clearer words; compare with the original if you experiment.
Generate a draft and verify it
The subtitle tool generates English draft captions locally after downloading its model. Review names, numbers, technical terms, and quiet sections against the recording. Speech models can invent words in noise or silence. Remove unsupported text instead of polishing it into a confident claim.
Download the reviewed SRT if your destination supports a separate caption track. If you trimmed the recording for a separate transcription service, account for the original start offset when mapping times back. For sensitive or confidential audio, check the destination’s handling terms before sending the extracted file anywhere.
Try this workflow
Start with a short, non-sensitive sample. Inspect the downloaded result before using a longer recording or larger image.
Open the related tool